Getting started with FetchApp is quick and straight forward. By signing up for FetchApp your account will be configured so that you only need to connect with your carts and/or payment processors and add some products. This help page provides an overview of what it takes to get started with FetchApp.
Getting Started
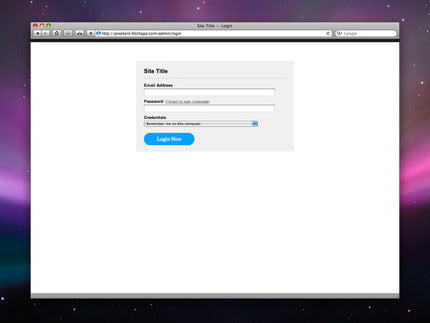
Register for an Account
To begin using FetchApp you'll first need to register for an account. This is quickly achieved by completing the form on the sign-up page. An email with login instructions will be immediately sent to the address you enter.
If the free plan is chosen you don't even need to enter credit card information to begin using FetchApp. This is a completely risk-free way to see if FetchApp meets your needs.
Account Confirmation & Setup
After registering for a FetchApp account you'll receive an email that provides instructions on how to login. Click the unique confirmation link in the email and complete the online form to finish registration, then login to your own FetchApp admin.
Once logged in all your information (name, email, address, etc.) can be updated from the users page. This information can then be viewed by other account users.
Connect Carts & Payments
To start receiving orders you'll first need to connect FetchApp with your carts and/or payment processors such as PayPal, Goodsie, BigCommerce, or Shopify.
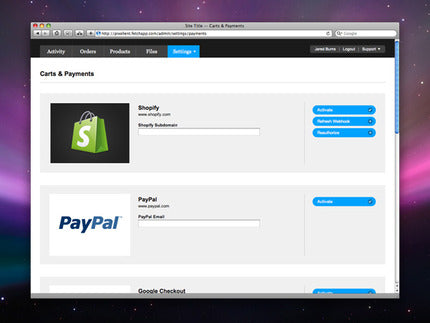
From the carts and payments setting page simply provide the requested information for each service you want to connect FetchApp with. Integration typically only requires a single email address or URL provided by your cart or payment processor.
Since payments aren't processed by FetchApp, you'll need to setup accounts with the supported carts or processors before they can be integrated with Fetch.
Create Products
Now that you've created a FetchApp account and connected it with your carts and/or payment processors, it's time to create some products and upload your digital files.
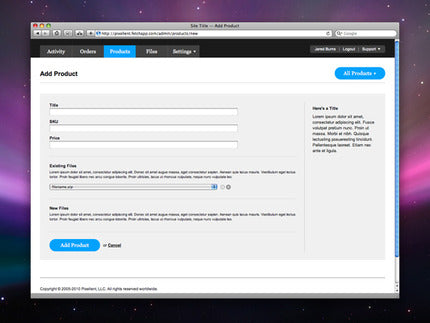
Go to the products section of your FetchApp admin and click the add product button to begin building your inventory. If you're using Shopify or BigCommerce you may import all products from your store by clicking the import button on the products page.
Provide a title, SKU, and price to each product, then upload one (or several) files from your computer. All files previously uploaded will also be available to attach to any products.
Start Accepting Orders
After you've created products and associated files with each, you're ready to begin selling. It's all automated from here on out!
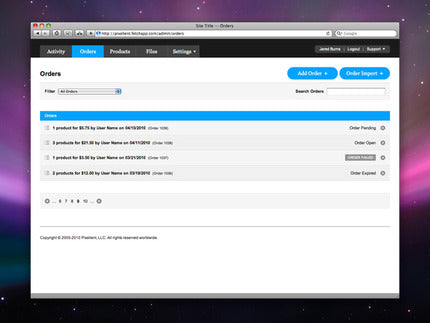
Either use the FetchApp-provided buttons (if using an payment processor like PayPal) or your cart to place orders. Once an order is received it will automatically show in your FetchApp admin and the time-sensitive links will be emailed to your customer.